Seed Starting
The birds are chirping, the bees are buzzing, and daffodils have opened their sunshiny faces. Spring in Kentucky is a magical time, and for our growers it signals the start of seed-starting season and the promise of a summer bounty.
Timing Is Everything
When it comes to starting seeds, timing is everything. You want your transplants large and healthy enough to thrive when they go into the ground, but not so large that they become rootbound and stall out before they ever reach the field. If you take one thing from this article, let it be this: it’s better to be a week or two late planting than a week or two early with rootbound plants. Hopefully that takes a little pressure off.

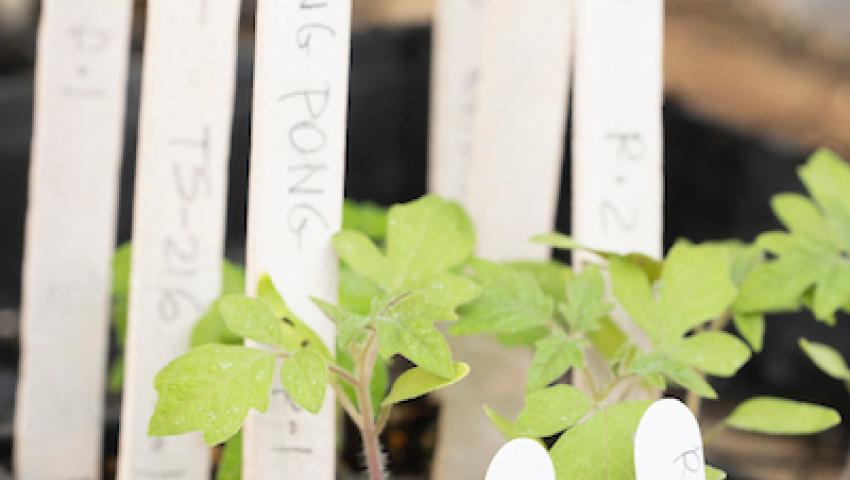
Choosing a Seed Starting System
There are many ways to start seeds, from standard black plastic trays to soil blocking and sturdier Winstrip trays. Everyone has a favorite method, and there is no single perfect answer. Each system has its strengths and limitations, so the key is choosing what works best for your operation in terms of efficiency and cost.
When deciding on a system, consider factors like seed size, growth speed, preferred growing media, and how you plan to water (overhead or bottom watering, for example). If you’re thinking about trying something new, we have several resources on the CCD YouTube page that walk through a few of these methods.
Managing Temperature for Better Germination
Temperature-controlled heat mats can be a game changer for seed starting. Even basic heat mats can significantly improve germination rates, but adding a temperature controller allows you to fine-tune the process.
Some mats come with built-in controllers, while larger commercial styles may require a separate controller that can regulate multiple mats at once. This can be especially helpful for seeds like cole crops and certain flowers that prefer cooler soil temperatures than the standard 75–80°F many heat mats produce.

Getting Moisture Levels Just Right
Moisture management is another key factor in growing healthy transplants. Too much moisture encourages disease and rot, while too little can prevent germination or dry out young seedlings.
In smaller setups, humidity domes can help maintain moisture until seeds germinate. In greenhouse environments, however, the ambient humidity is often sufficient without additional cover—though there are always exceptions.
Once seeds have germinated, remove any domes and keep the growing media moist, but not wet. A good rule of thumb is that the soil should feel damp but not release water when squeezed—similar to a wrung-out sponge.
Feeding Young Seedlings
Fertilizing seedlings is relatively simple but can easily be overdone. We do not recommend seed-starting mixes that contain fertilizer. So, you’ll want to begin feeding plants once the first or second set of true leaves appears.
Whether you use organic or synthetic fertilizers, a good guideline is to apply a quarter-strength solution once a week using a balanced N-P-K fertilizer. One tip from personal experience: if you plan to use fish emulsion, make sure you’re in a well-ventilated area—or be prepared for the STENCH.
A Rewarding Way to Grow
Growing your own transplants can be incredibly rewarding and gives you access to a much wider range of varieties than purchasing from plug suppliers. While this article only scratches the surface of seedling production, these tips should help get you growing in the right direction.
Be sure to explore the resources on our website for even more tools and guidance to help make your farm or garden successful this season.